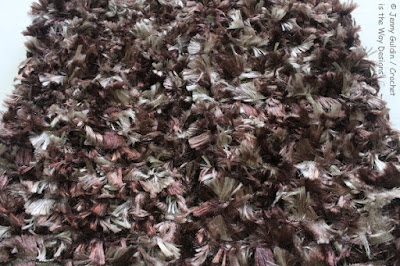
Let's be honest: Faux fur yarn can be difficult to work with. And now the Bernat Boa in my stash is even more frustrating because it's been discontinued! 😥 In the past, I combined it with a strand of worsted in the Furry Fingerless Gloves pattern to add some bulk and make the stitches easier to find... That was helpful but still may not be an easy pattern for a beginner. Now I've found another great way to use it, and it's as simple as surface crochet.
My original surface crochet tutorial will show you a bunch of ways to create designs with different stitches, but we don't need all that info for this simple faux fur. In this new tutorial we'll only be using an easy slip stitch. Here's some quick basics to know:
- You'll need something crocheted or knitted to work your surface crochet over.
- I'm using the same size hook for the original piece and for the surface crochet. If you find your work puckering or bulging, you may need to change hook sizes to match gauge.
- This method will work with any yarn you like... It doesn't have to be faux fur.
- Surface crochet must start from the back of the work, with the yarn coming from underneath. You can start anywhere you like depending on the design you're creating, but I'll be starting in a corner space and working in every stitch across to cover the entire piece in faux fur.
Okay, now let's get to work...
Beginning:
1. Insert the hook from front to back. Yarn over so the working yarn is over the front of your hook:
2. Bring up a loop:
(You may start with a slip knot if you like, but I chose to start with just a loop and stitch over the tail to secure.)
The stitch:
3. The yarn needs to be anchored around the post of a stitch, or you'll just be making chains upwards... Insert your hook in the next stitch:
4. Yarn over, then pull the working yarn through the loop on the hook:
Just repeat across: Insert hook in the next stitch, yarn over, pull through loop on hook. Now, what to do when you reach the end of a row?
Rotate (do not flip) your work around so you can work back in the other direction:
Tips:
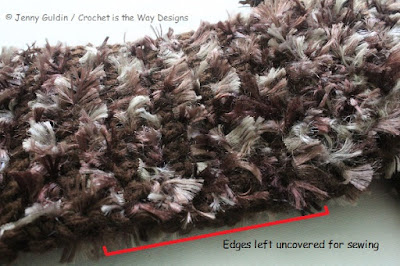
I'm moving up to the next row each time I reach the edge. For thicker fur, you could work back into the same row after you turn or you can flip your work and make slip stitches on both sides. See here how the back side isn't completely covered:
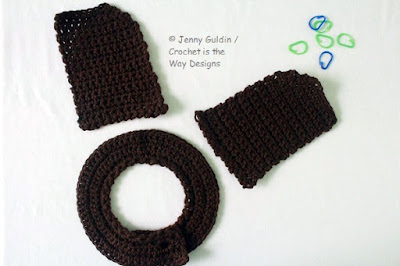
I've left the outer stitches of these pieces uncovered because I still have to sew them together:
This is a much easier way to create faux fur without having to fight to find your stitches! But to be perfectly honest: Once you've added a few rows, the fuzz can start overlapping the space you need to work into. (Still, so much less frustrating!) I just smooth the fur away with my thumb before making a stitch to make sure I'm working into the correct space.
Well, there you have the stitch and some extra tips on how to make faux fur with surface crochet. Since Bernat Boa yarn has been discontinued, you'll be getting this design for free as another how-to tutorial that will teach you how to measure to create the pattern in any size you like... Faux fur optional.
Happy Crocheting!


Comments
Post a Comment
This is not a political website. Any comments with political content will be removed. Y'all need to learn how to act right.